Reveal Part 1: Project Mary Street - Project Overview
To say that I put all I had into Project Mary Street is the understatement of the year. I legit cannot remember a time in my recent life where I worked as hard as I did not just for one day, but for nine straight days (all of which were 10-12 hour days). We're talking moving furniture from unit to unit, hanging over 70 pieces of art, styling, painting accent walls and accessorizing my a$% off.Seriously, I lost five pounds in nine days. I for real accessorized my a$% off.I did not do it alone though, with me the whole week was my amazing assistant, Barb, who is actually a TV producer but currently in between jobs. I couldn't have asked for a better partner in crime that week, we got along amazingly and she helped me not only with the decorating, but provided amazing direction for the videos I managed to do while there. Speaking of which, I had every intention of shooting video in each unit, but after things got started it was just too damn busy to take the time out each day to capture video in all the units. Sadly, I ended up only getting two done, but let me tell you they were that much better with her help and direction!The help didn't stop there, not only did the owners; Davelle Morrison, Lani Fumerton, Don Millman and Jeff Lyons come down to help on various days, but they also had their amazing entourage graciously helping out.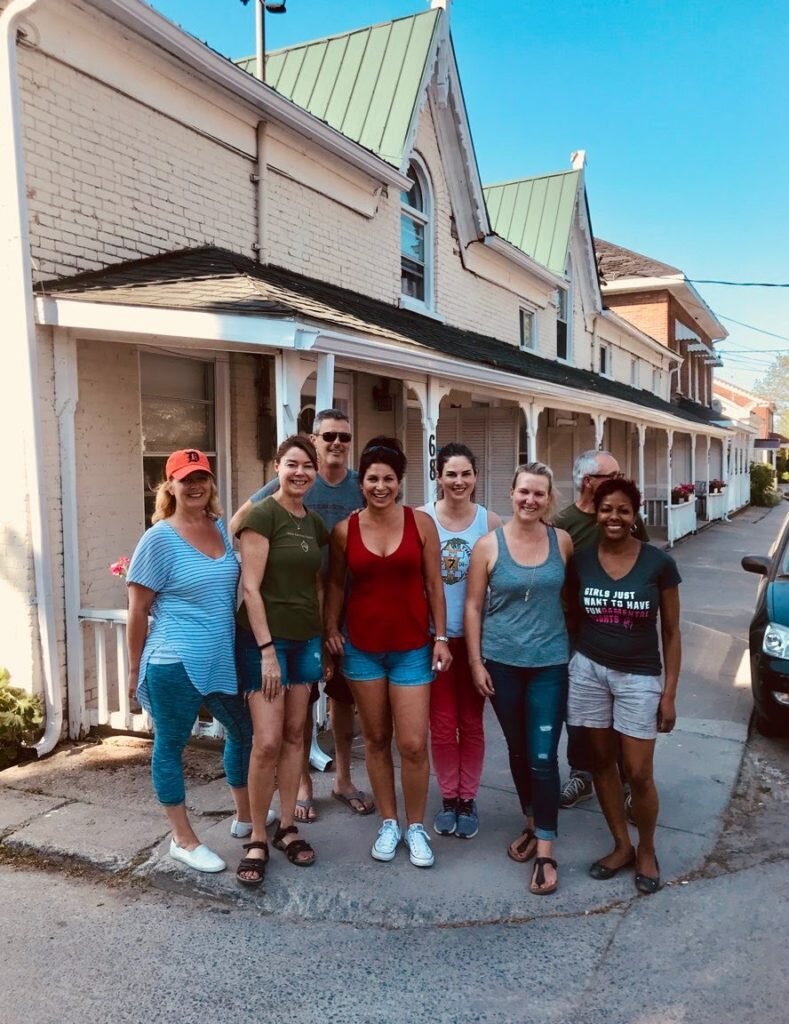
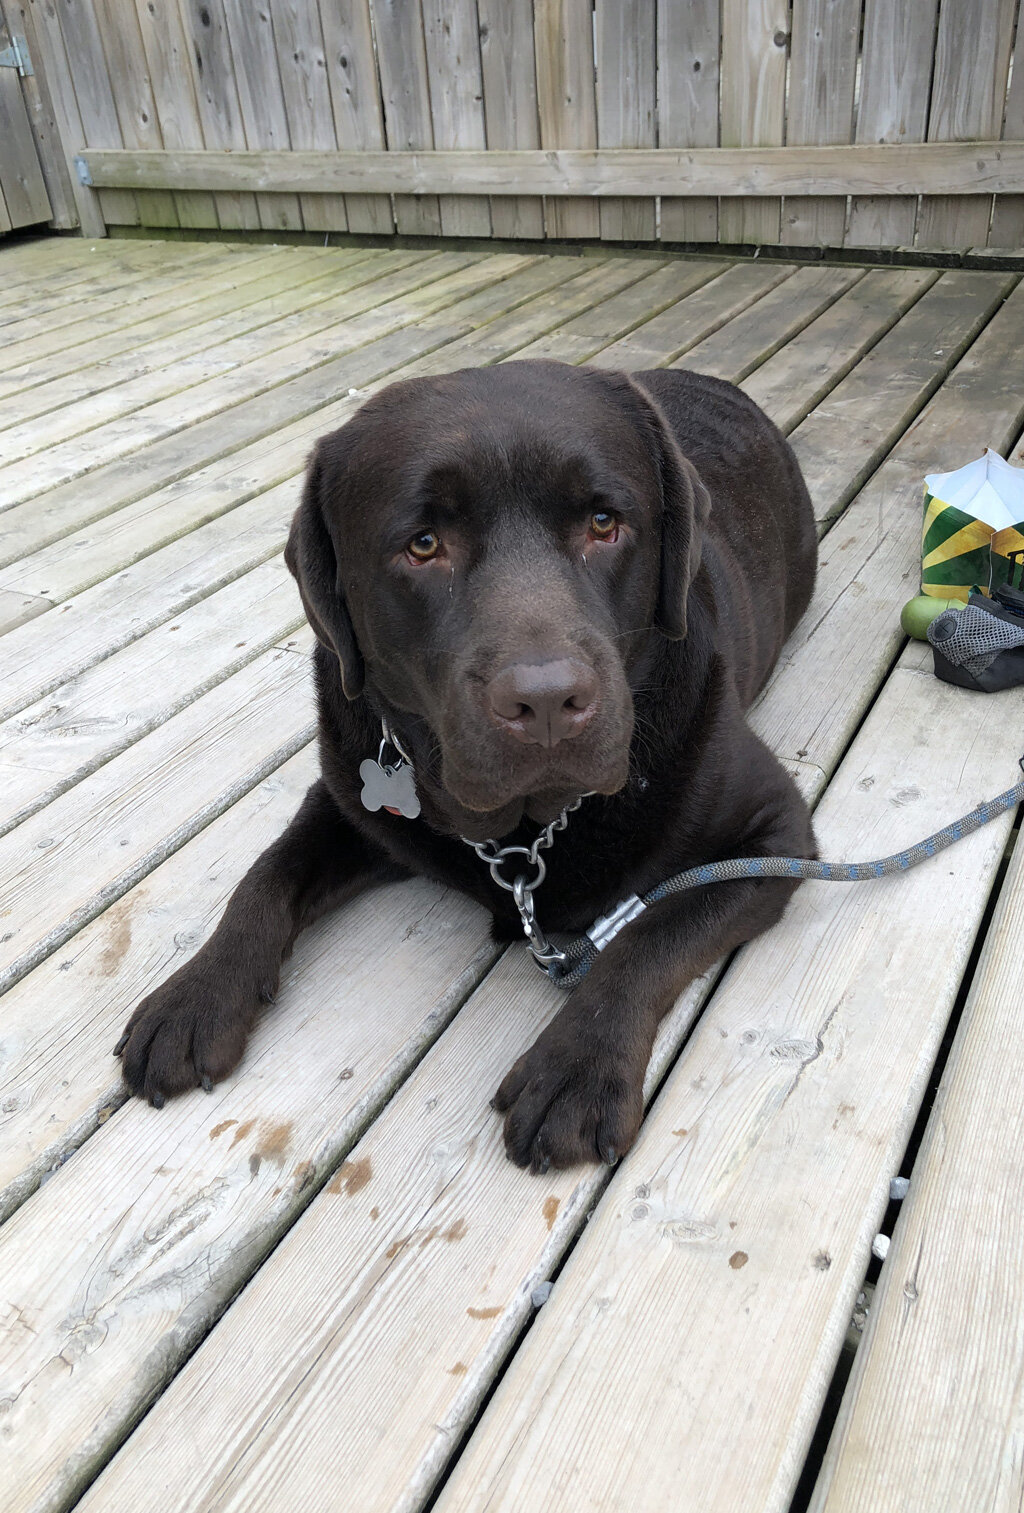
This is some of the dream team (many key people missing here!). We're talking parents, friends, not to mention the Mary Street Mascot (see picture below) which just provided help in the form of cuteness. Trust me, it helped.
I also had two handymen (David Riley and artist Jon McKinnon) that took turns helping me hang art, mirrors and window treatments. If none of these people had helped, I'm pretty sure I'd still be there. ;)
After leaving my blood (don't worry, mostly cardboard cuts), sweat (of dear god, so much sweat) and tears (by day eight I was hanging by a very thin thread and when everyone left, I maybe had a wee bit of a cry), I drove away in my big 20-foot cube truck feeling incredibly proud of what we accomplished in those nine days.Oh, did I forgot to mention I rented a 20-foot cube truck? I sure did, there she is below (obviously, she's a she) and there I am driving it. I've never driven a cube truck. I never plan on driving one EVER AGAIN. It was scary and terrifying, but truth be told, I did feel like a badass driving this bad boy.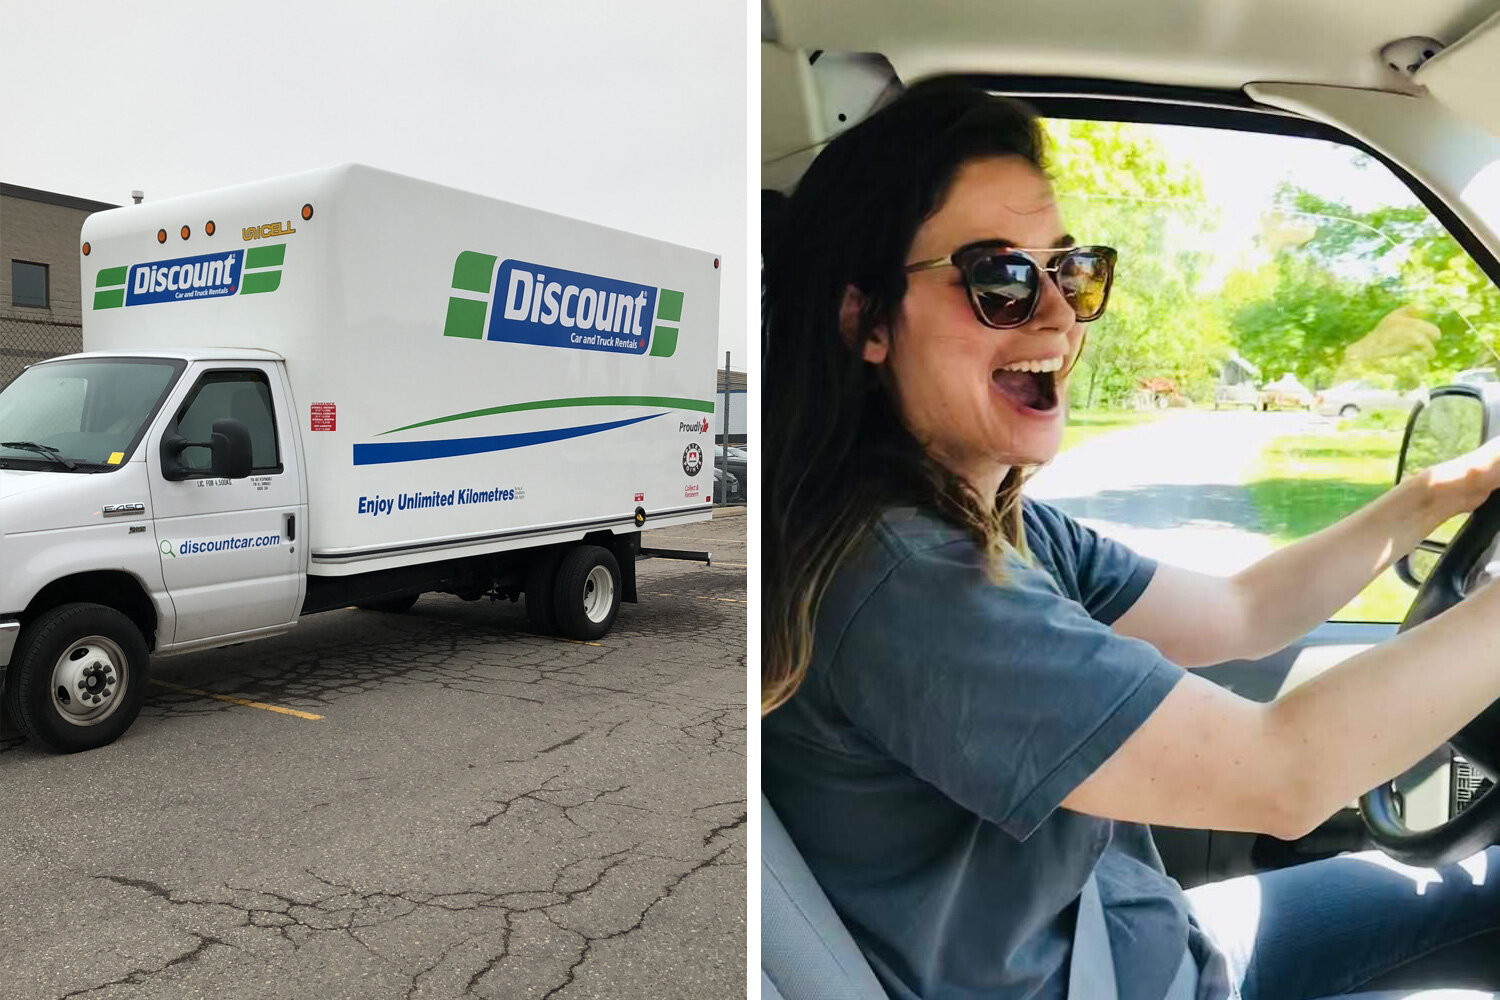 While this project proved to be really hard work, what I want to stress even more is how fulfilling and inspiring it was. I had been asking the universe to send me a project with exposed brick. Well, thanks universe, you sure did deliver. The moment I stepped foot inside the first unit, I was so inspired by what I saw including gorgeous exposed brick, original wide plank floors and huge opportunity for an amazing transformation. It was all I thought about, I wasn't sleeping at night because I just kept thinking about all the things I would do to the suites. #decoratorproblemsThis brings me to another important detail of this project. Trust. The owners put their absolute trust in me, which to be honest means more than they'll likely every understand. Complete trust from a client is a crucial element of a project. They trusted me to deliver the end result they were after with very little micro-managing. I took that trust very seriously, and I made sure I understood what their goals where and made sure that I delivered that.Nothing makes me happier than to hear a client say "it's far surpassed our wildest expectations", I know that I've done my job.Ok, enough sap for one post, here's the deal, I plan to do a series of blog posts and video for each unit (six in total), this is where I will share before and afters, but before I get into that I'd love to give you a bit of an overview of this project, the scope, the constraints and the process.
The scope
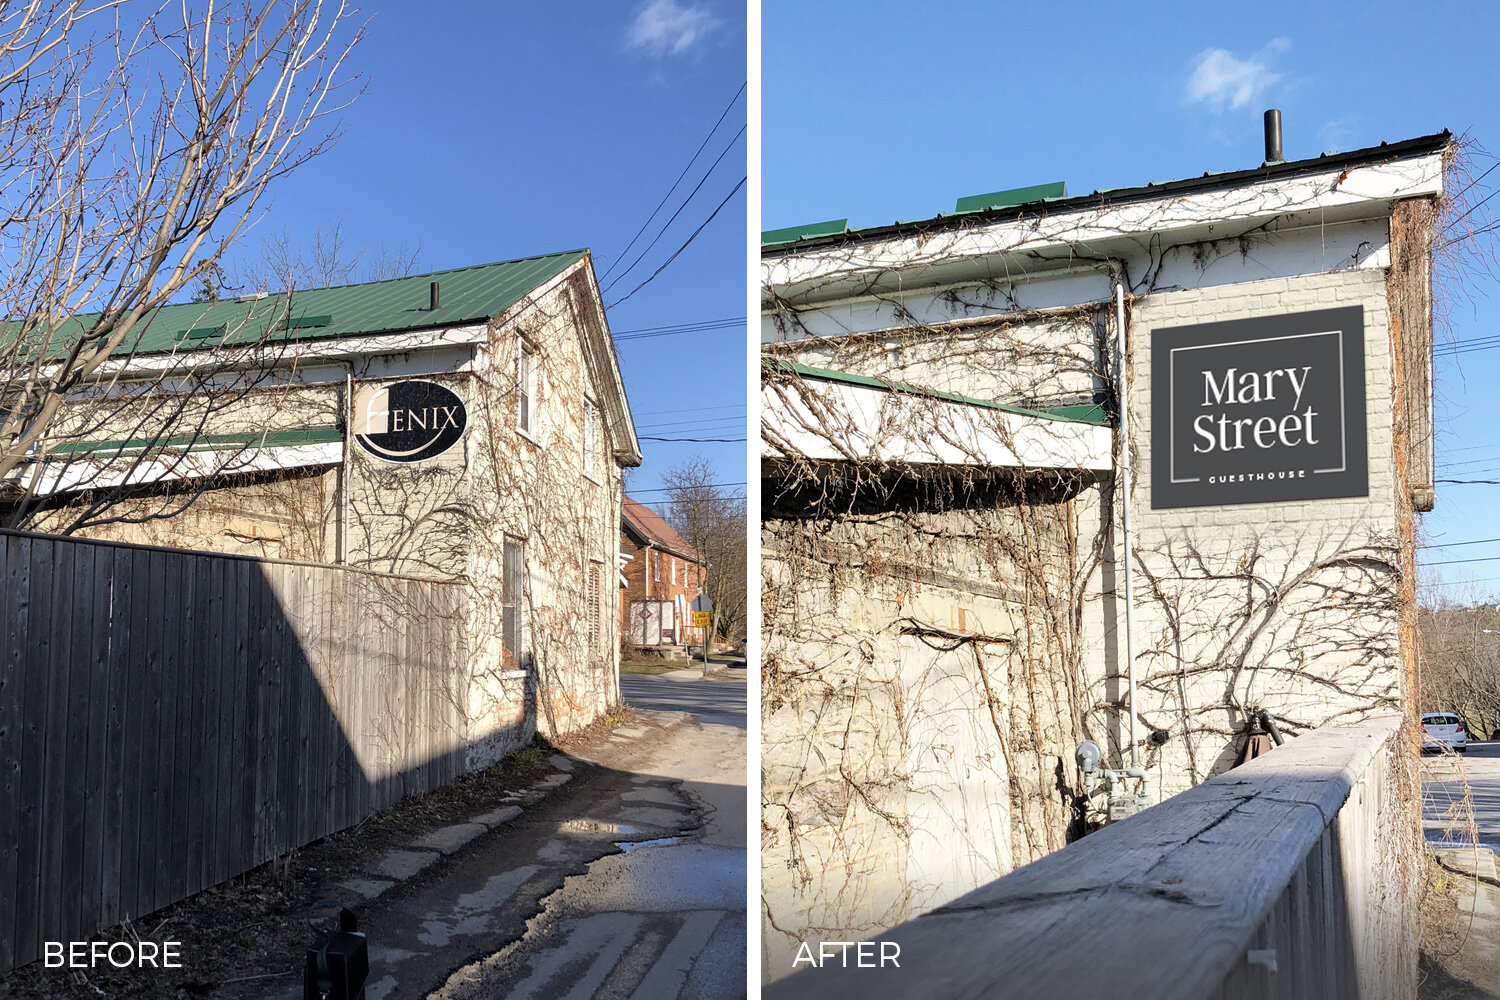
My role for this project was to help select the paint for the entryway doors, walls and floors (where applicable), I also was to take care of all finishing touches, including selecting rugs, window treatments, accent walls, art, and all accessories. They were going to take care of all the furniture. While I wasn't hired to help with furniture, I did offer some guidance and requested a few key pieces where possible. I also made myself available for help selecting vintage pieces.The project also included a redesign of the logo and the new website for the newly rebranded building (formerly the Fenix). Above is a photo of the building when it was formerly the Fenix.
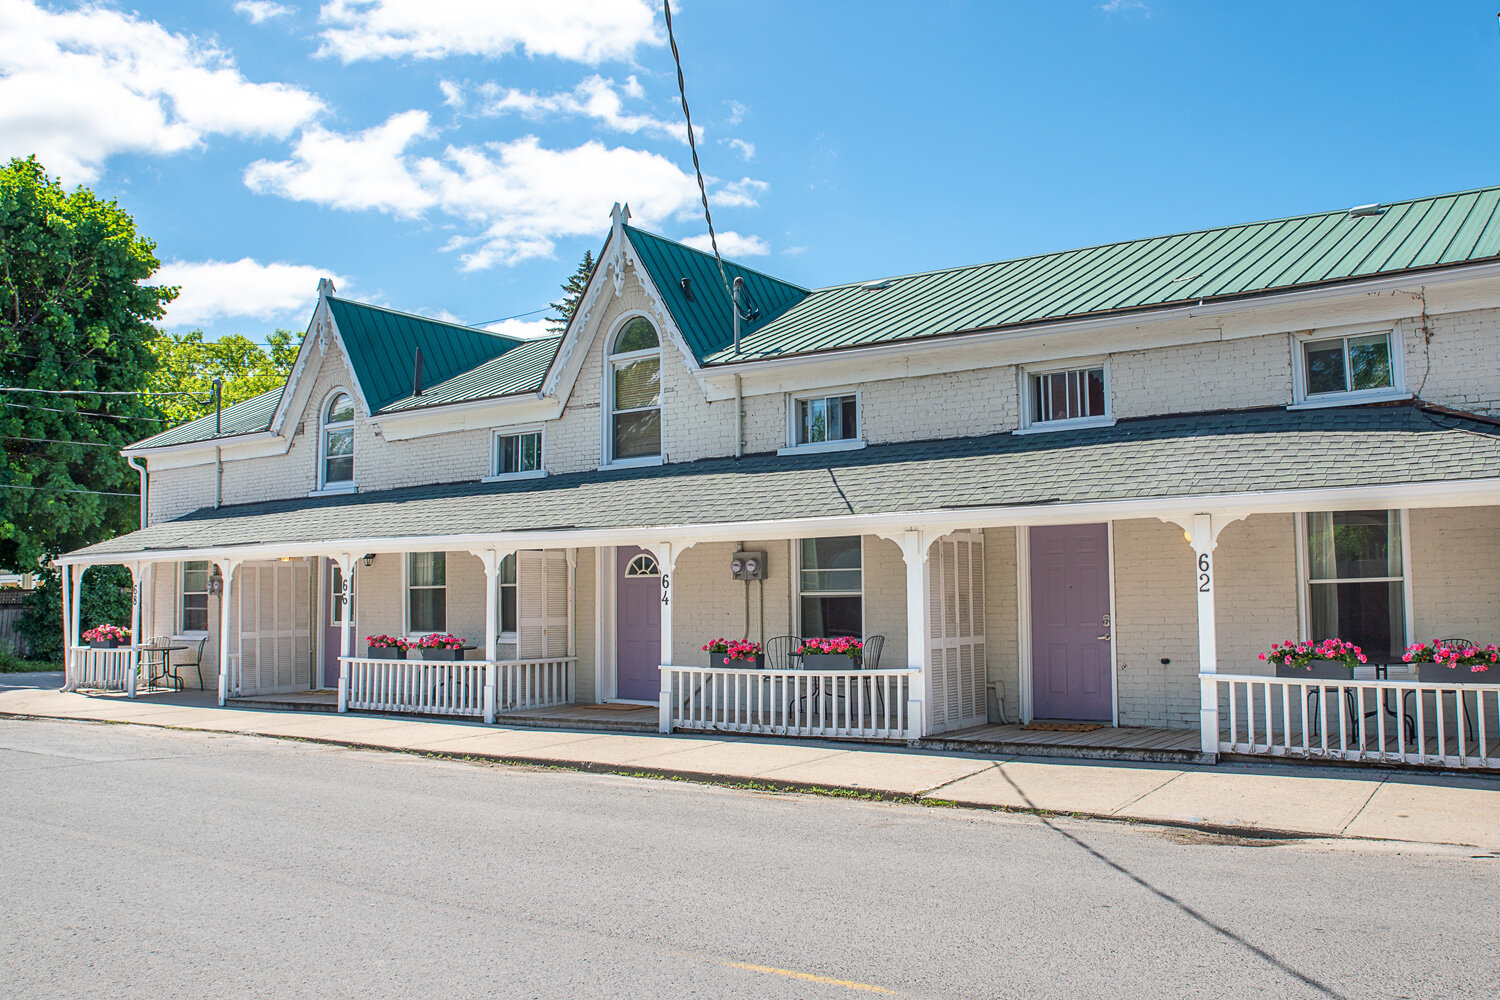 And a photo after the doors were all painted a pretty Lilac // Photo by Graphik Eye Photo

I wanted to create some consistency and branding through the use of colour on the doors and making it an Instagram worthy exterior! // After Photo by Heidi Lau
The change of name meant we needed a new logo and website. I presented three logo options, and this is the logo they selected. Once the units were transformed we had photographers come in to capture their beauty and shortly after I designed the new website.
The constraints
I am so proud of the final transformations that took place in each unit of the Guesthouse, but what makes me even more proud is the transformation that took place despite the insane constraints we were working under!
- Constraint 1 - Budget We were on a tight budget for accessories, art, rugs and window treatments. This meant I scoured IKEA, Homesense, yard sales and vintage shops. It was important to me that the spaces didn't feel like they were filled with IKEA or Homesense, I wanted the suites to have character so vintage finds were key.
- Constraint 2 - Timeframe The owners took possession of the building on April 30th and wanted the units listed by June 1st. Minor construction and painting was needed, this meant that I wouldn't be able to start my magic until May 24th! In the end we were on-site for nine days to place furniture, hang art, window treatments, mirrors, paint accent walls and accessorize six full units. I'm tired just thinking about it! Whew.
- Constraint 3 - Location Because the building is located in Prince Edward County, where shopping is extremely limited, it meant that I needed to plan for art, rugs, windows and accessories for all six units before I arrived. I would need to shop for everything I needed and drive it all to the County in my big old cube truck.
The process
For any project planning is crucial, but for a project with this many constraints, planning is even more important. I've had a few people ask me how I was able to execute on this project, and the answer is simple...Vision and planning.There's a reason I do this for a living and it's because when I see a space, I quickly can visualize the transformation. I see where furniture should go, what walls should have art and what types of accessories I'll need. Vision is extremely important, and it's what clients pay designers and decorators, like myself, to do.Once the vision takes form, planning is key. For this project that included:
- A site visit to take photos and measurements (this took 8 hours, I take this step seriously!)
- An itemized list of everything needed in each space
- Elevation drawings to plan out art
- Some quick mood boards to see how elements like rugs, drapes and art will work together
I knew these units needed to be ALL ABOUT ART. Because we weren't going to be able to do things like wallpaper (walls were extremely imperfect, and wallpaper is actually pretty pricey) or have time to carefully curate the furnishings or other design elements. It was all about the art and it meant going all in. Meaning, if we were going to do a gallery wall, we needed to ensure it wasn't half-assed.After it was all said and done, there were over 70 pieces of art installed in this building and I'm sure you'll see how important they are to the design! Day 10 was photoshoot day, and this was basically all I had left in me. Lying on the floor waiting for my amazing photographer (Heidi Lau) to capture the end result with her fabulous photos.Stay tuned over the next week or so while I share a new blog each day for each suite. I can't wait for you to see the end result.