Reveal Part 2: Project Mary Street - The Sandbanks Loft
AFTER PHOTOS BY HEIDI LAU& GRAPHIK EYE PHOTOGRAPHY (where noted)
[If you haven't read Part 1, I recommend starting there]
We are kicking the suite reveals off with the Sandbanks Loft, which is the smallest unit of the six, but this guy packs a mean punch. The Sandbanks, in case you're not familiar with Prince Edward County near Picton, Ontario, is a provincial park located on Lake Ontario. And it's freaken' beautiful, so it only made sense for the owners to name one of the units after this beautiful landmark.While all the suites took on a personality of their own, I wouldn't say any had a real theme except for this one, which was obviously, a beach theme. Themes are not meant to be taken too literally, they serve as a point of inspiration, have a peek at how I accomplished just that in this suite.
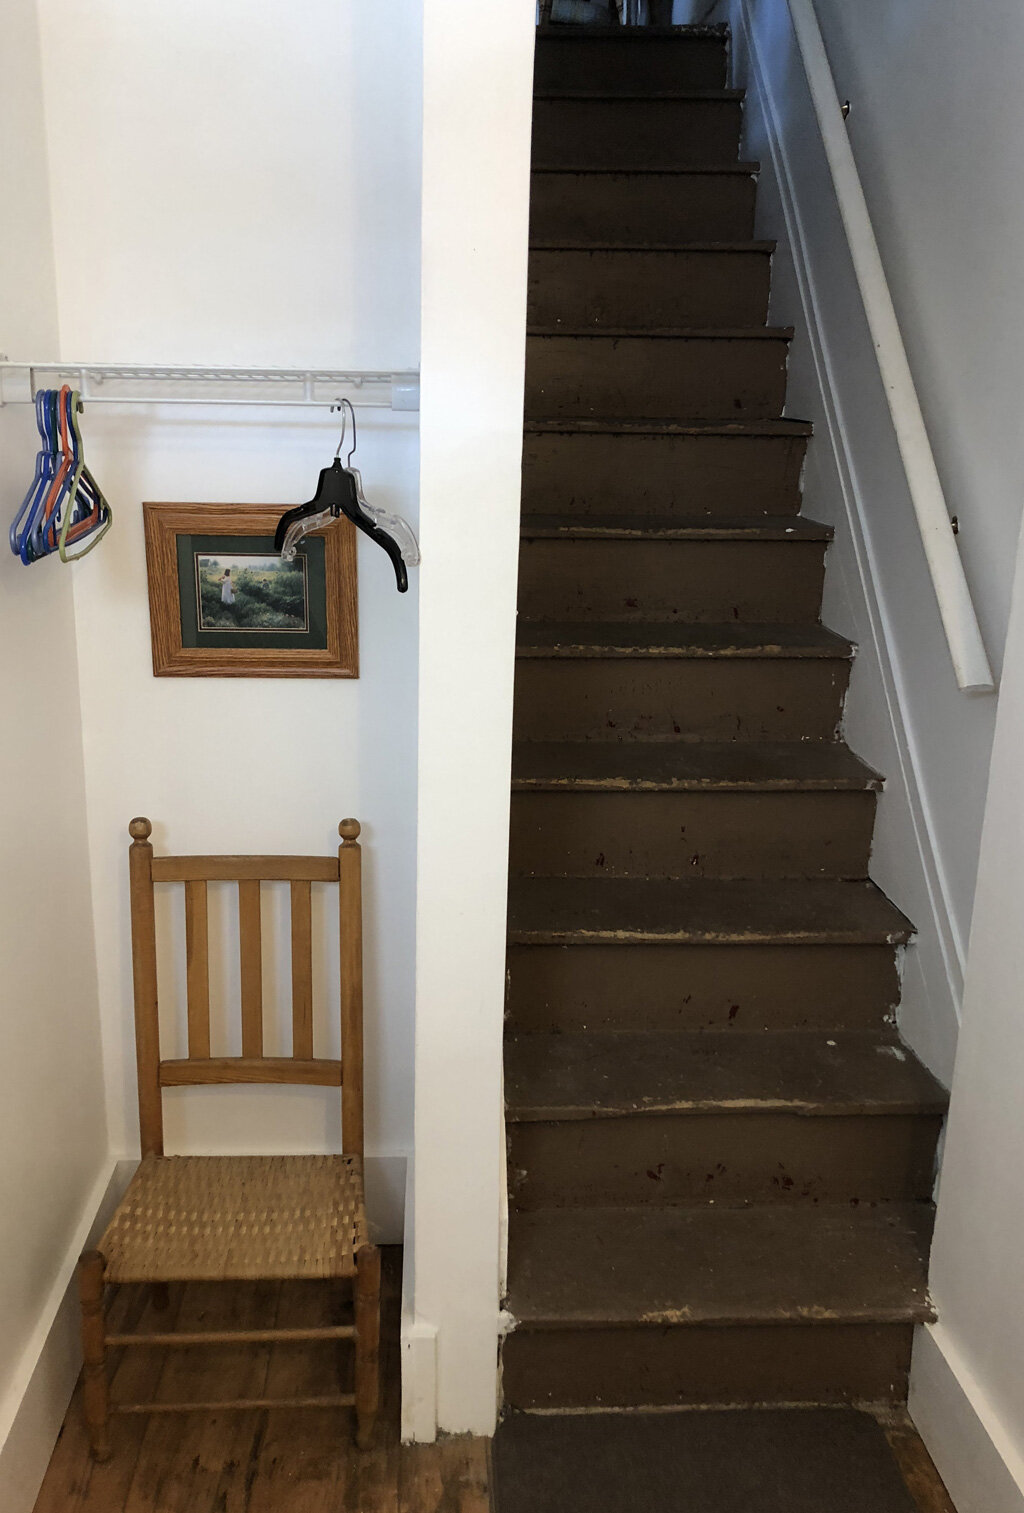
// BEFORE //
// AFTER //
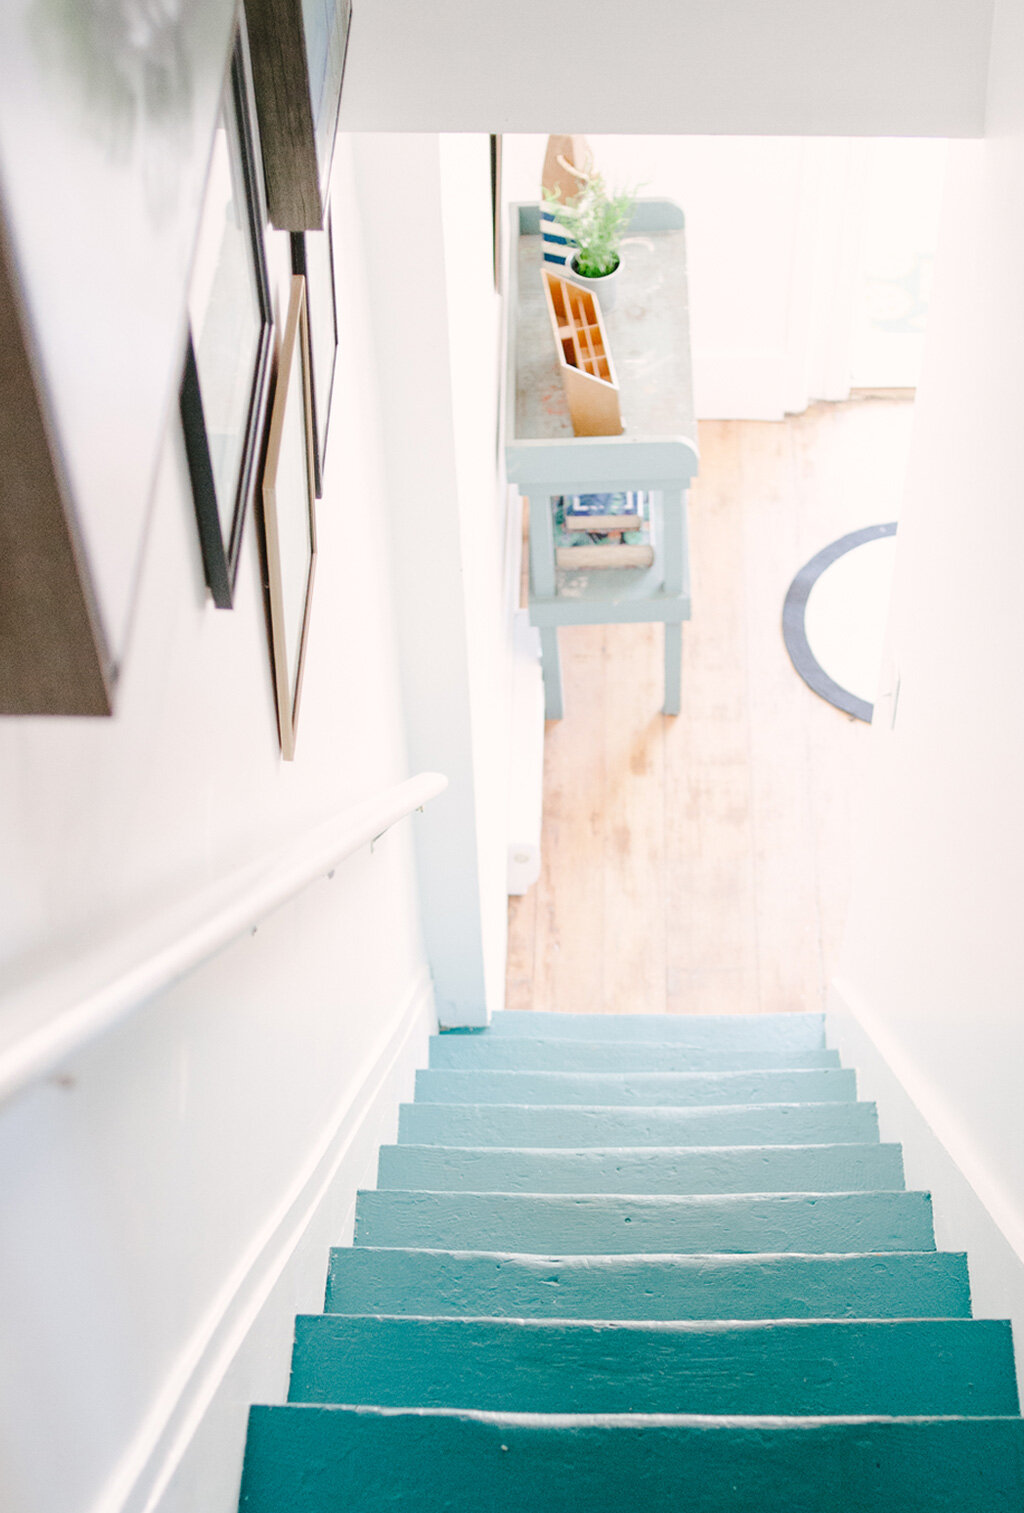
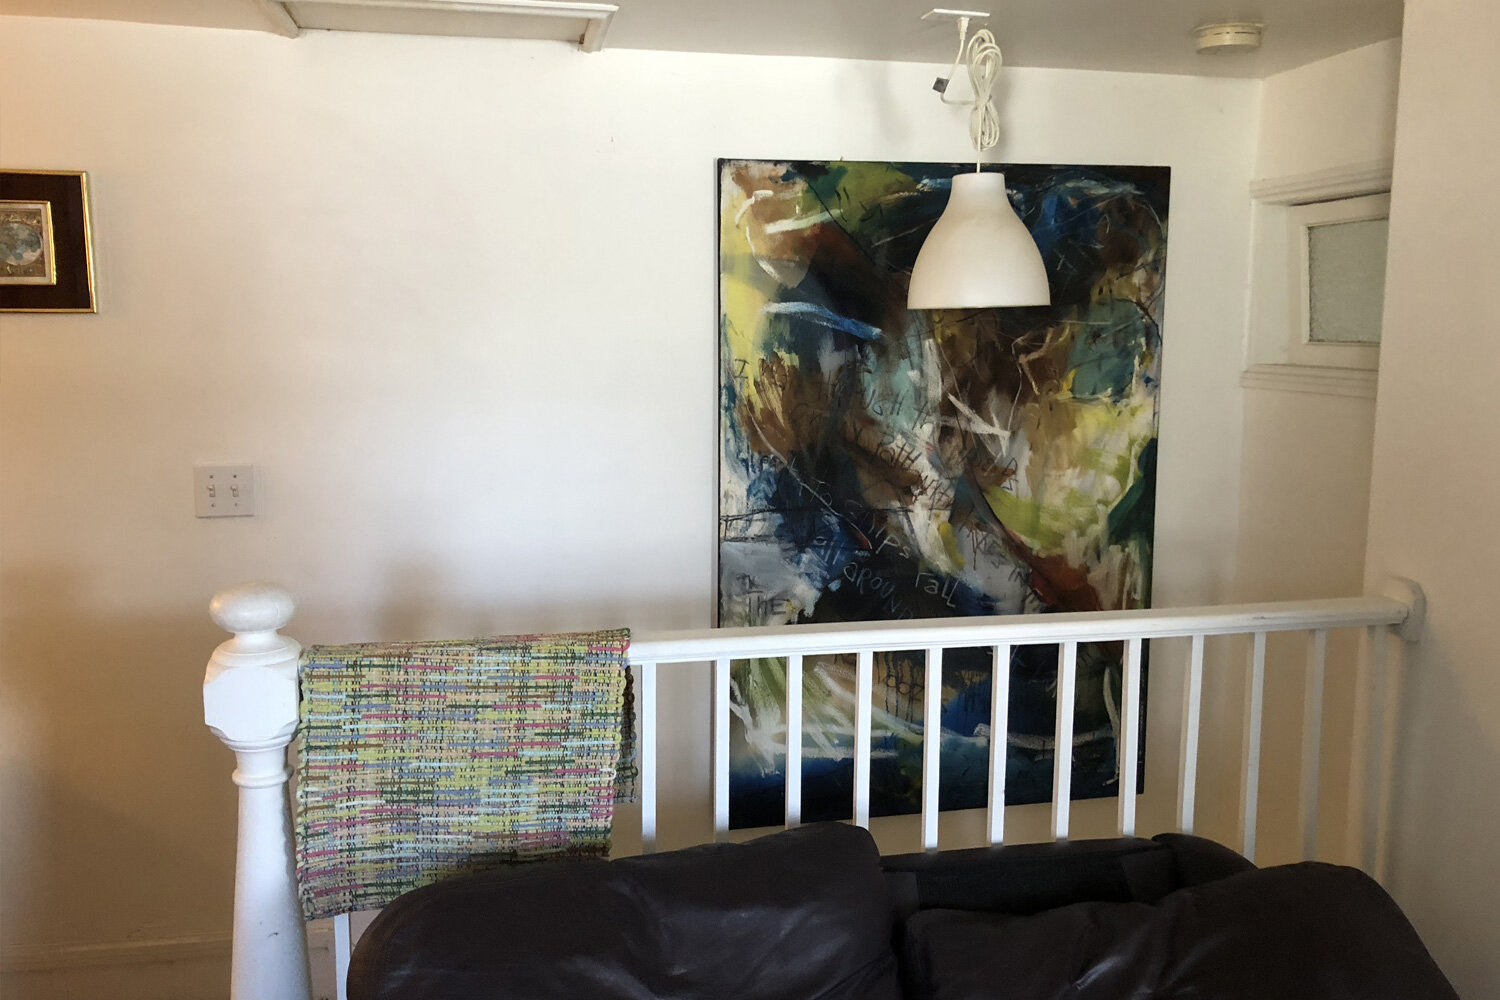
The moment I stepped foot in the space, I knew I wanted a statement colour on the staircase. I wanted to turn it into the focal point, using the beach as my inspiration we went with a turquoise paint turning this entryway into a showstopper. BOOM! Photo above by Graphik Eye Photography
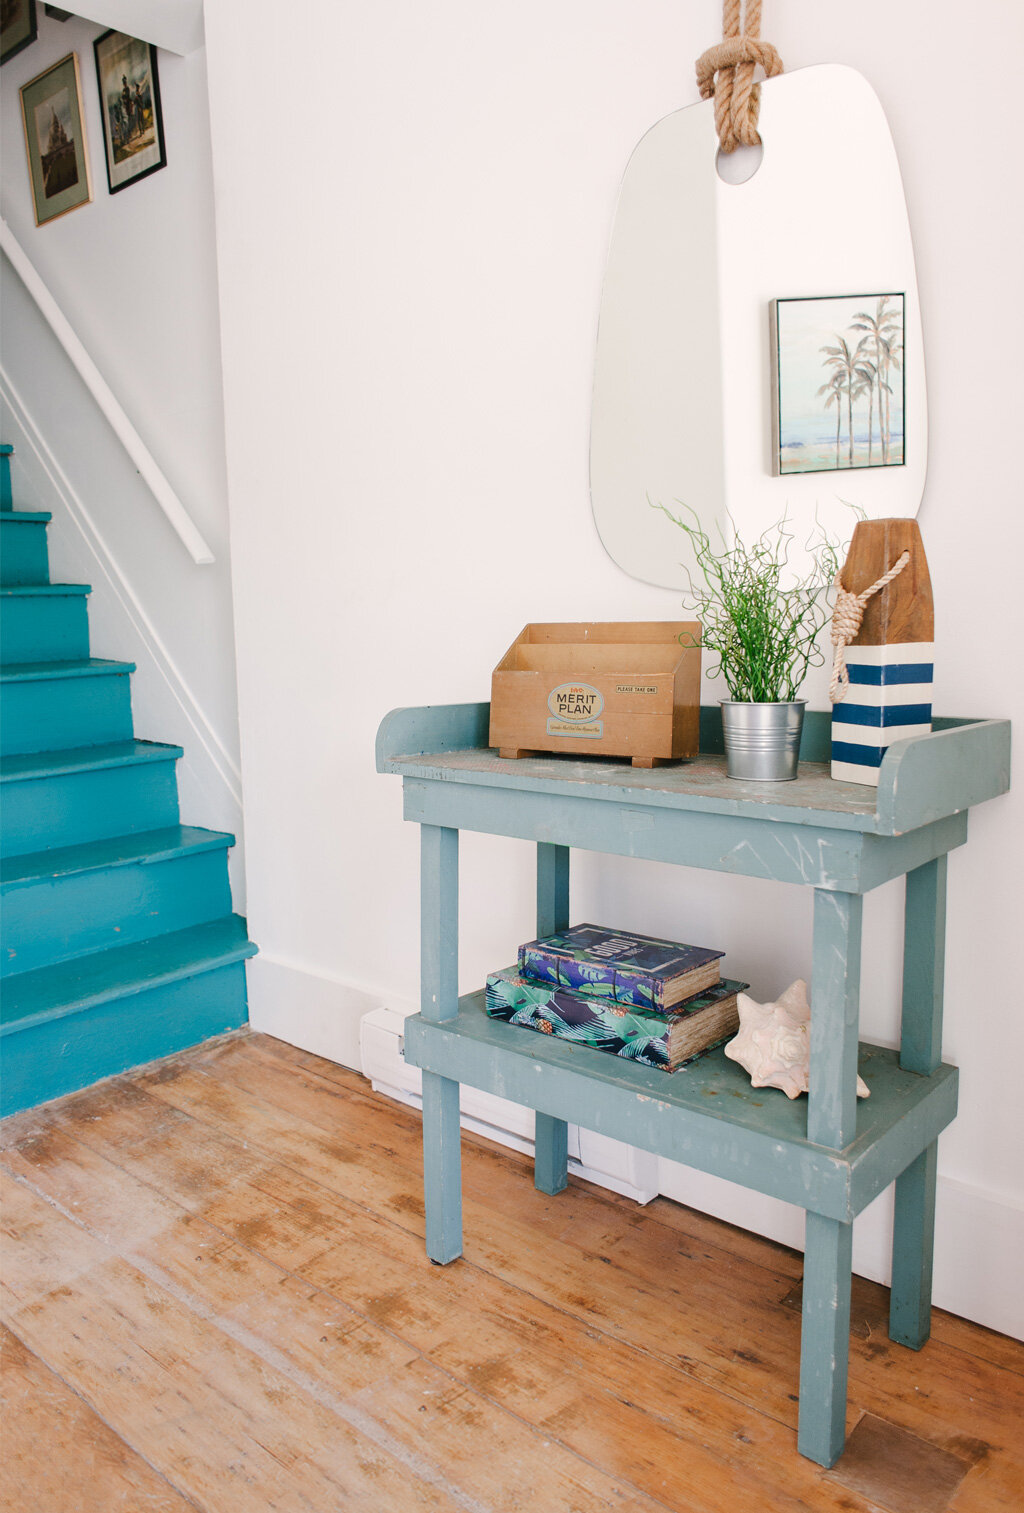
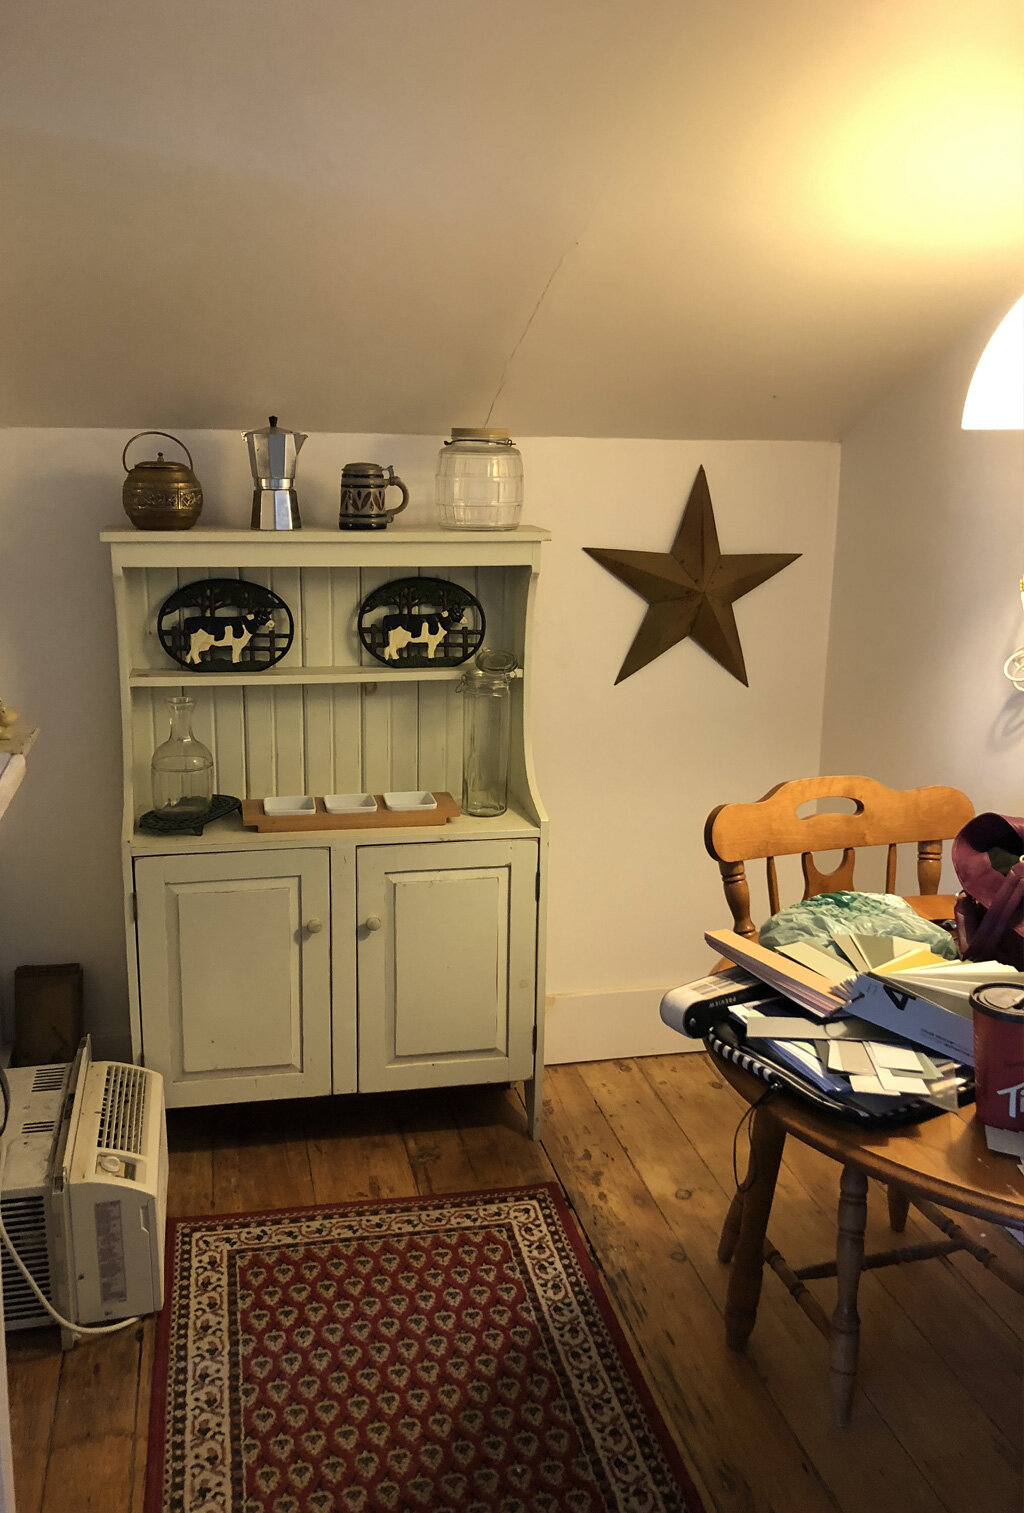
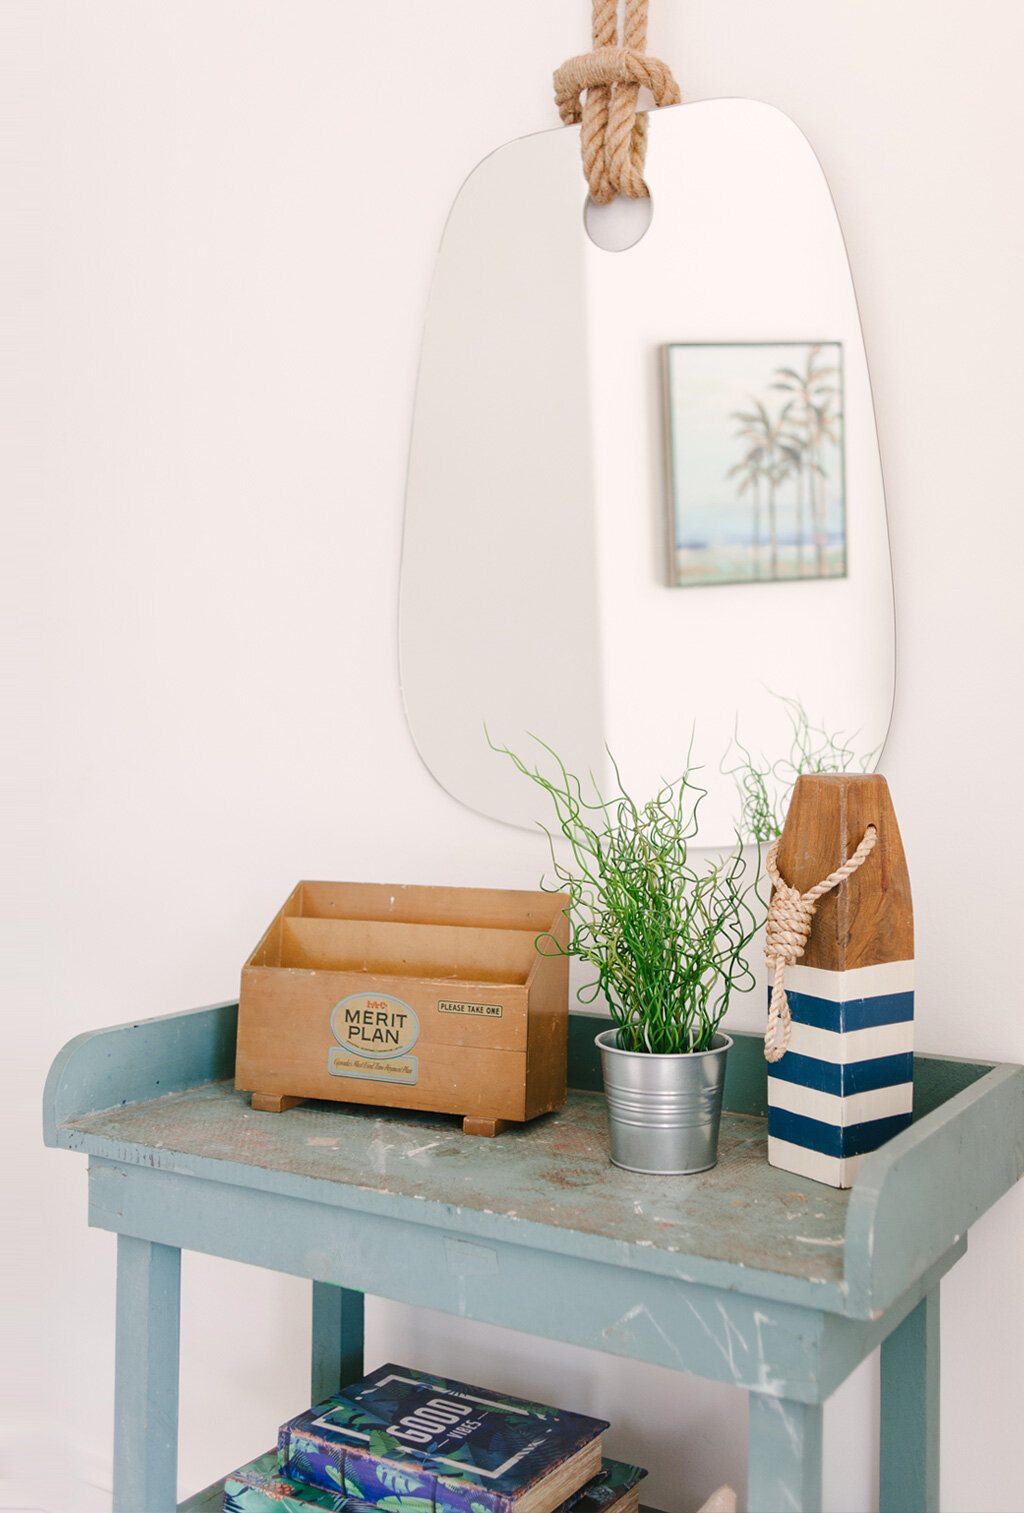 I found this console at Macool's Reuse, it couldn't have been more perfect if I had painted it myself! (I have a horseshoe up my ass!)
// BEFORE //
// AFTER //
Oh gallery walls, how I love you. And I really love this one. Possibly my favourite design elements of all the units. My process for gallery walls start with wall measurements, then lots-o-shopping. We're talking vintage shops, Homesense and Etsy digital downloads, from there I create a digital layout on my laptop (you can see example of this in the video) which later gets translated onto the wall. The end result is gallery wall perfection. Photo above by Graphik Eye Photography

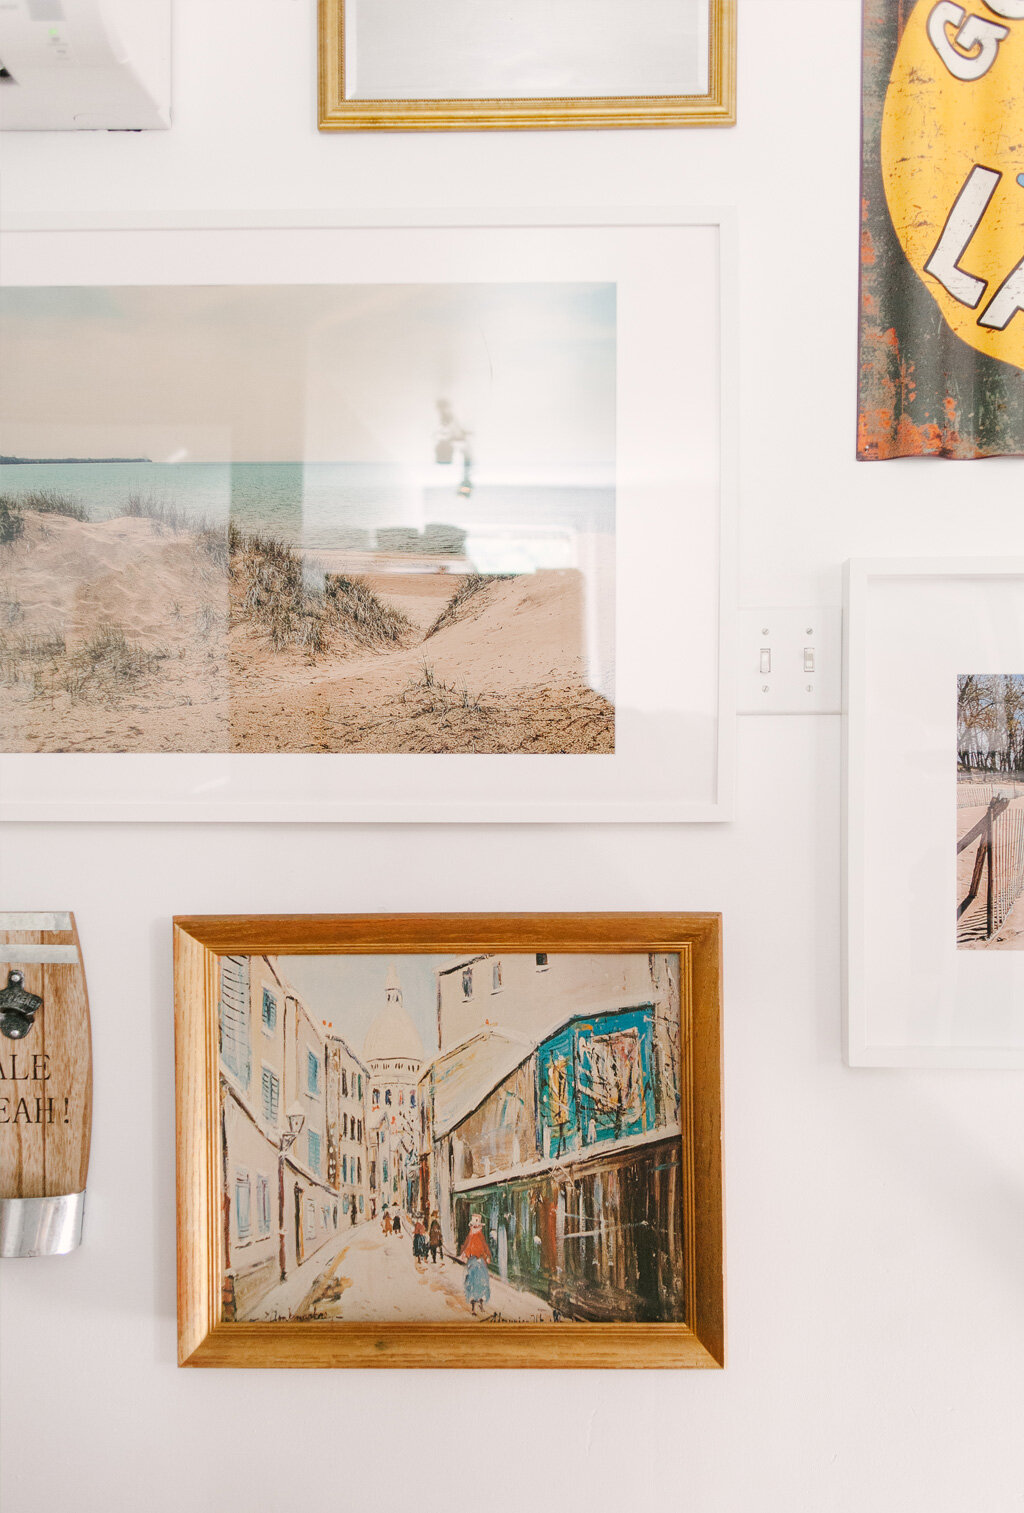 The large piece featured here was commissioned by Toronto-based photographer, Yakov Nissen. He also did the pieces featured above the fireplace and some others you'll see throughout the suites! All his photographs feature various landmarks in the County.


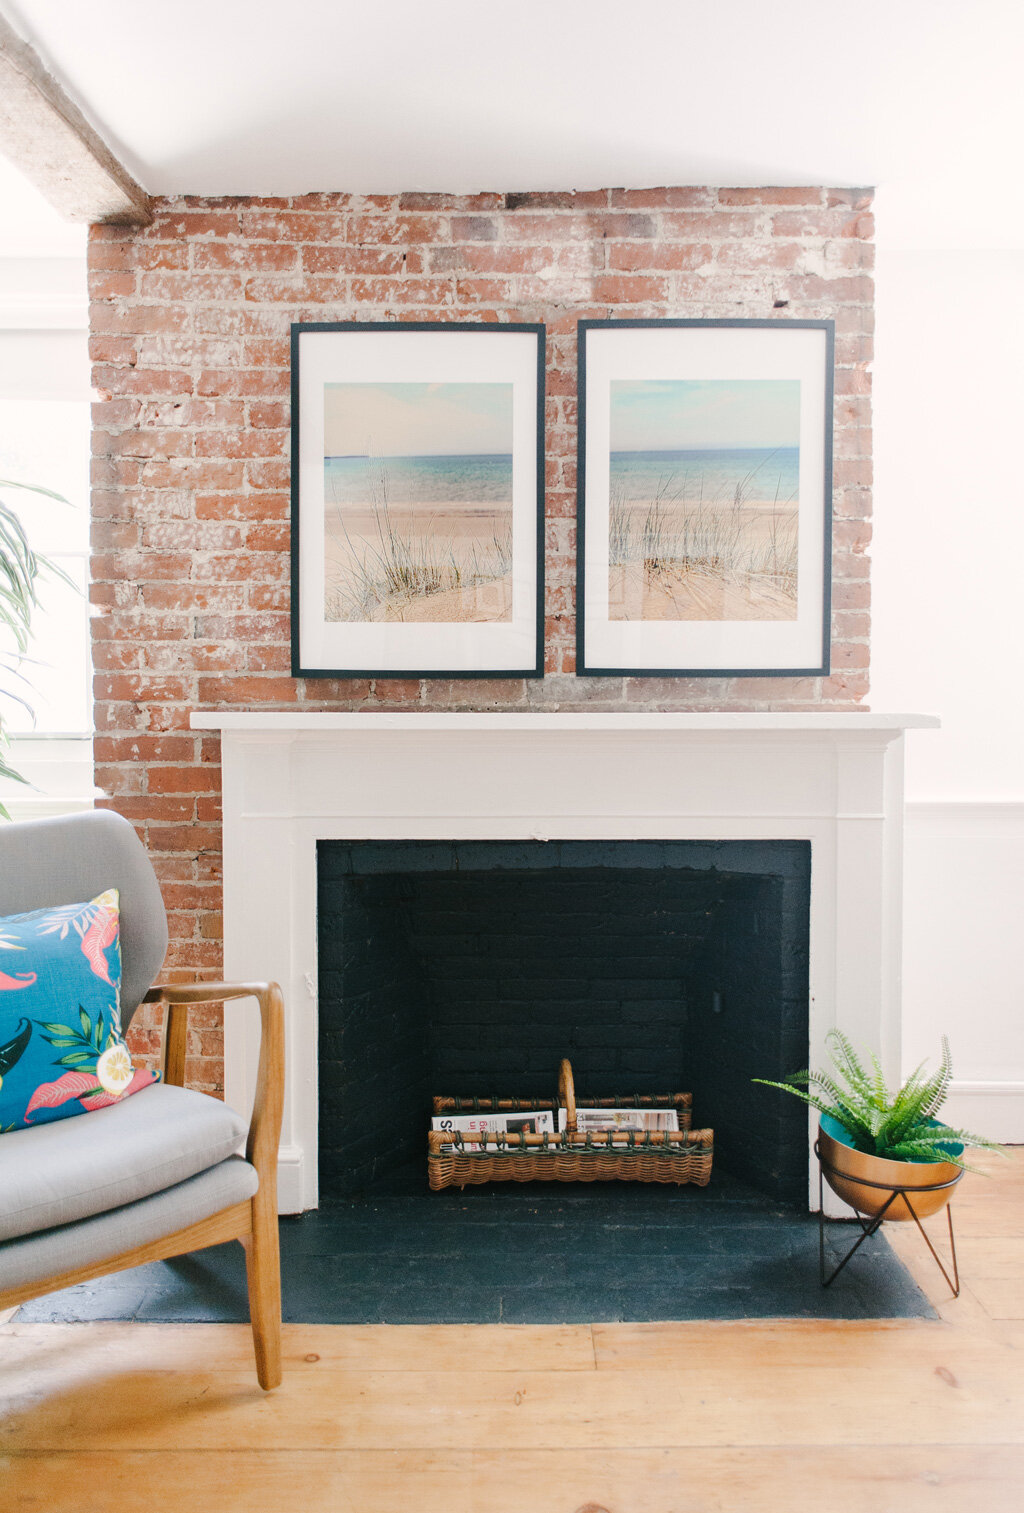
// BEFORE //

// AFTER //
We removed the panel covering the fireplace, the TV and added a fresh coat of dark grey paint. Combine that with the perfect art, furniture and accessories and you've got a perfect refresh.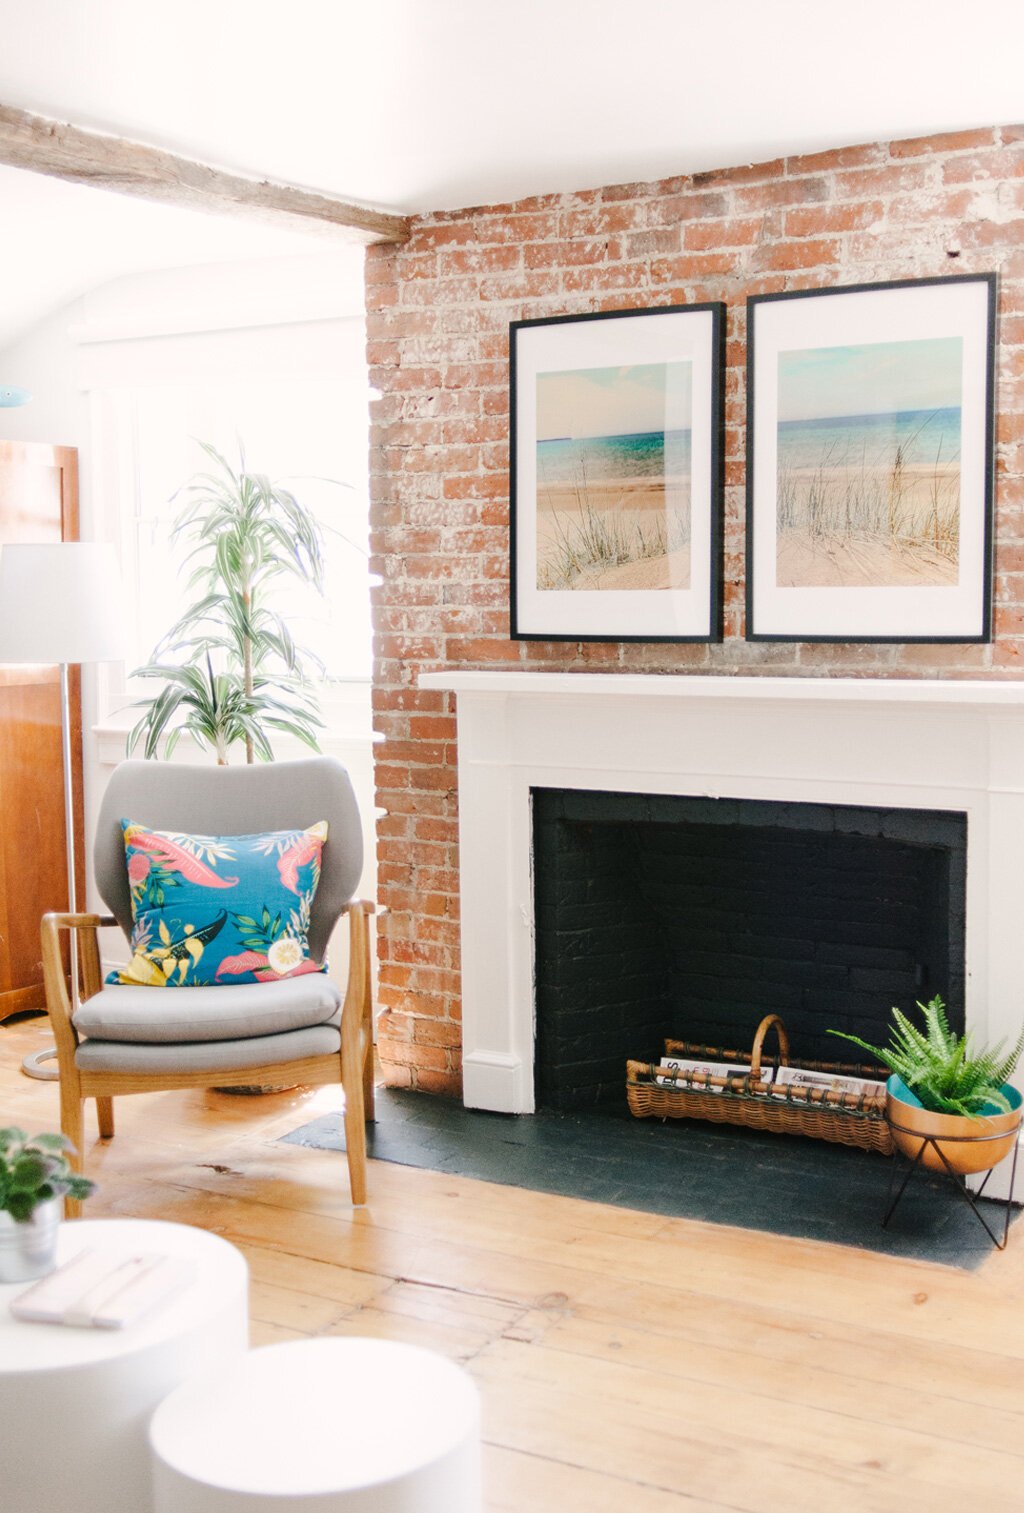
// BEFORE //
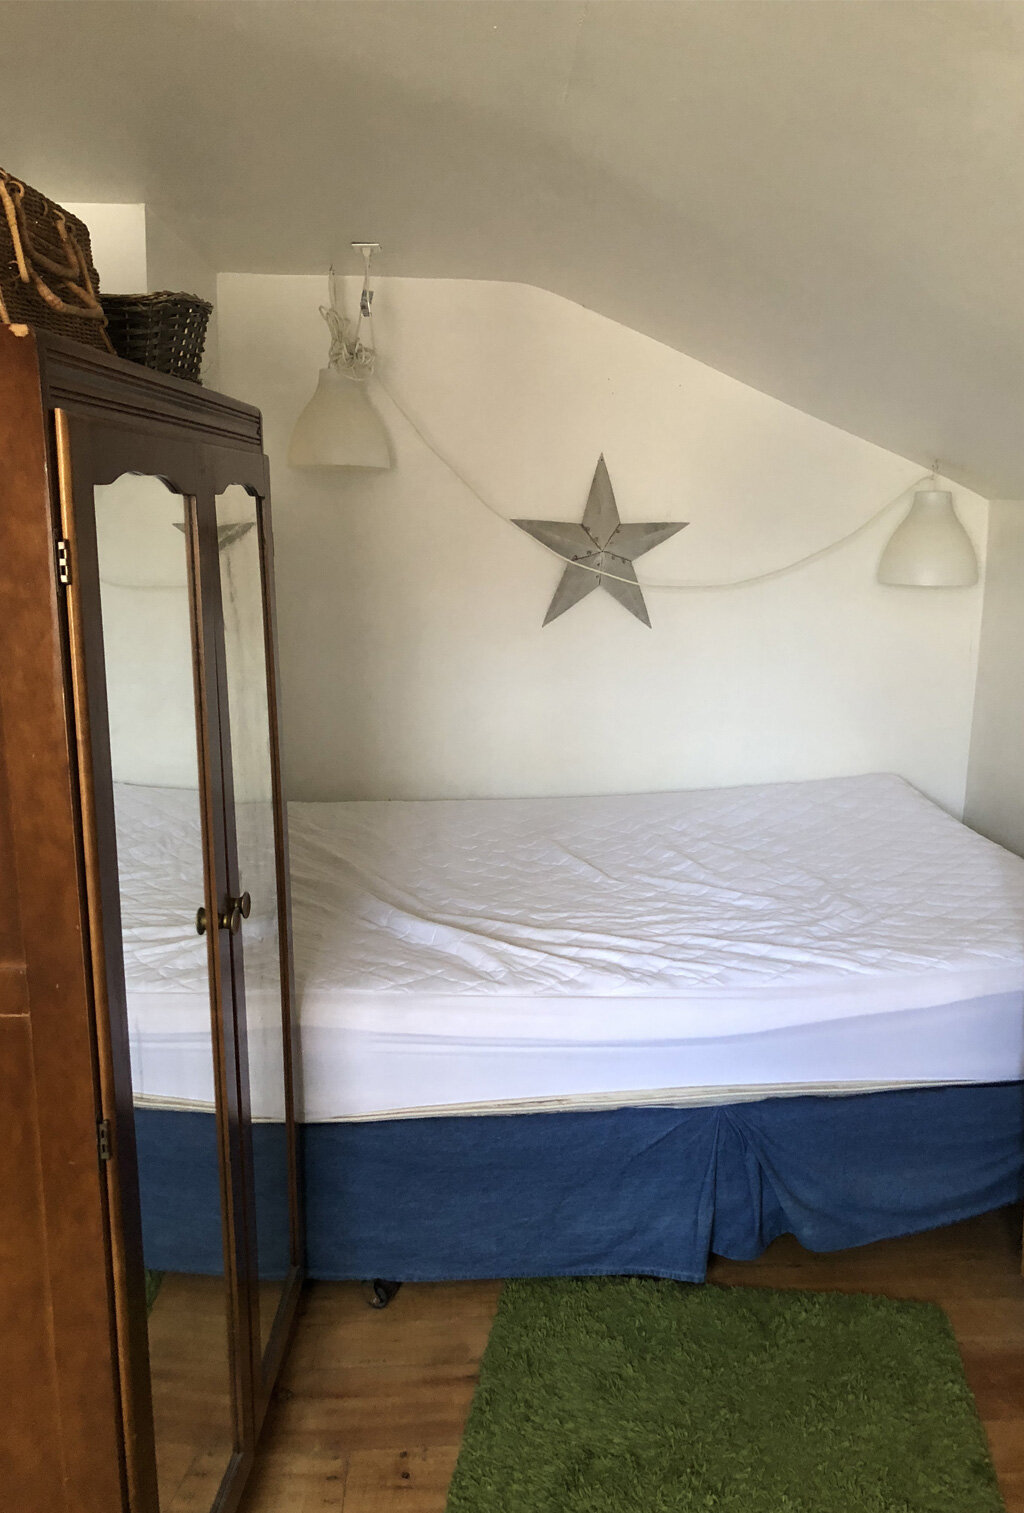
// AFTER //
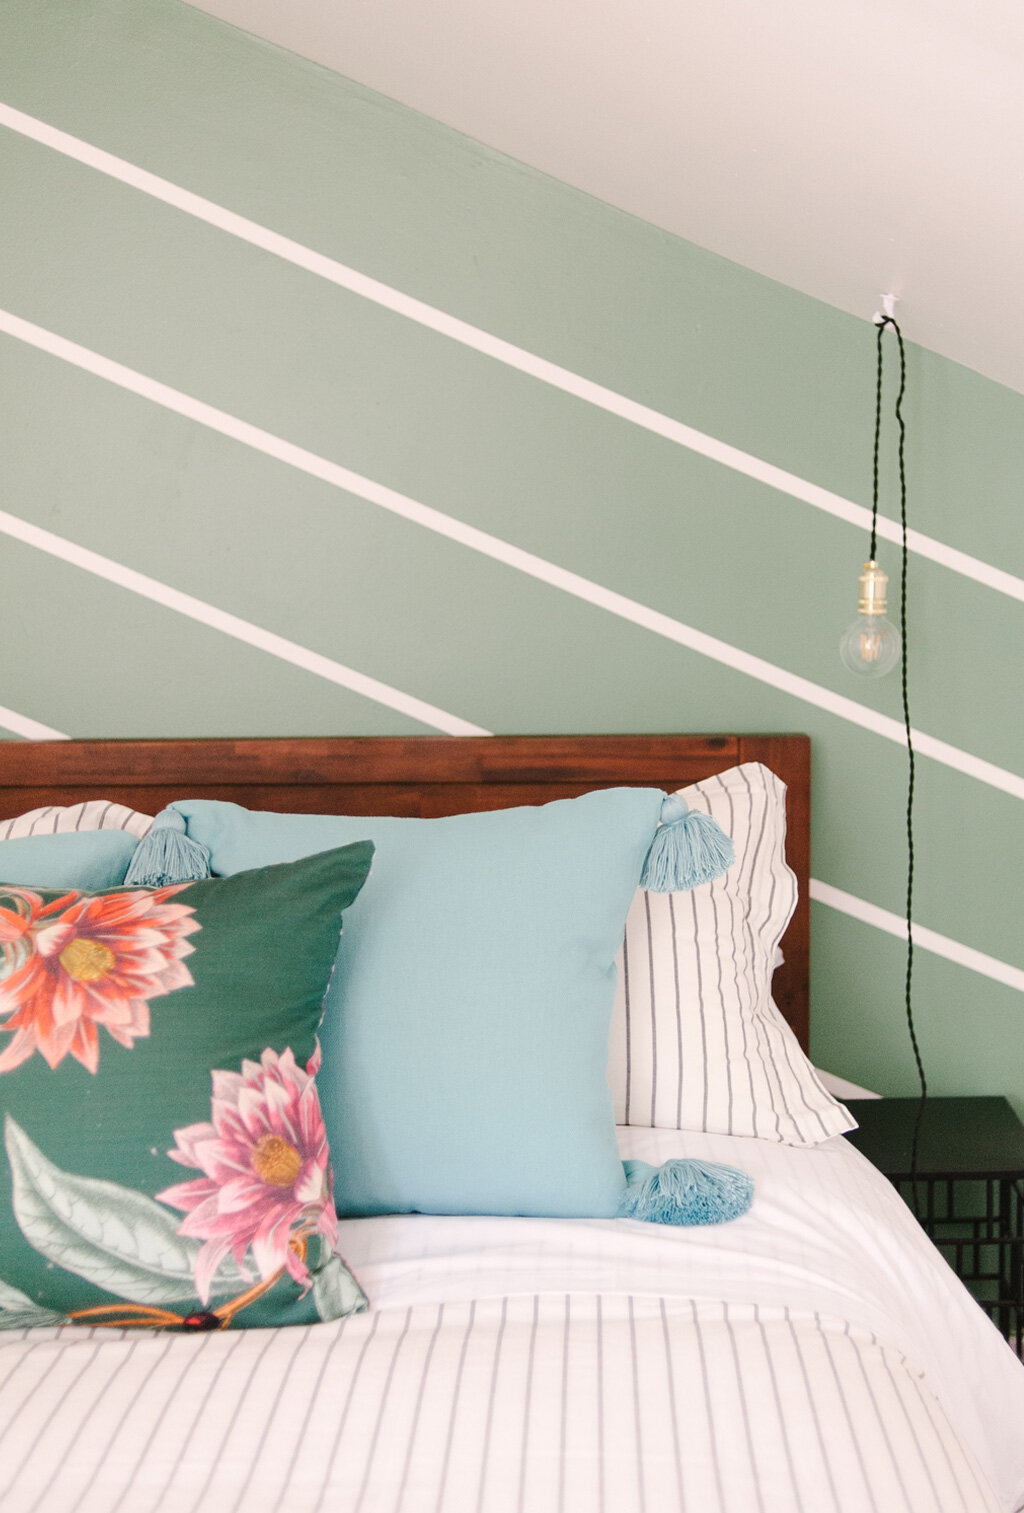
I had my mind set on this accent wall. Time was running out, but I was hell-bent on making it happen. Art on the wall behind the bed didn't made sense due to the sloped ceiling, plus the suite was already so packed full of art, it seemed it needed something else. I envisioned stripes that would work with the sloped ceiling as opposed to fighting it. This is the key to odd-ball architecture, design around it to help make it feel more intentional.Generally speaking, I don't DIY (hate it actually) and I sure as sh*t don't paint. In fact, I have a wonderful painter who does this for most my projects! But this wasn't an ordinary project, so I put my big girl panties on and made it happen. My assistant and I taped out the details, and we got to painting. I've legit never painted stripes in my life, I was so nervous about it (aka lost some sleep!). Luckily my handyman warned me about what tape to use, the key was "delicate surface tape". And he was right, the end result was absolutely perfect.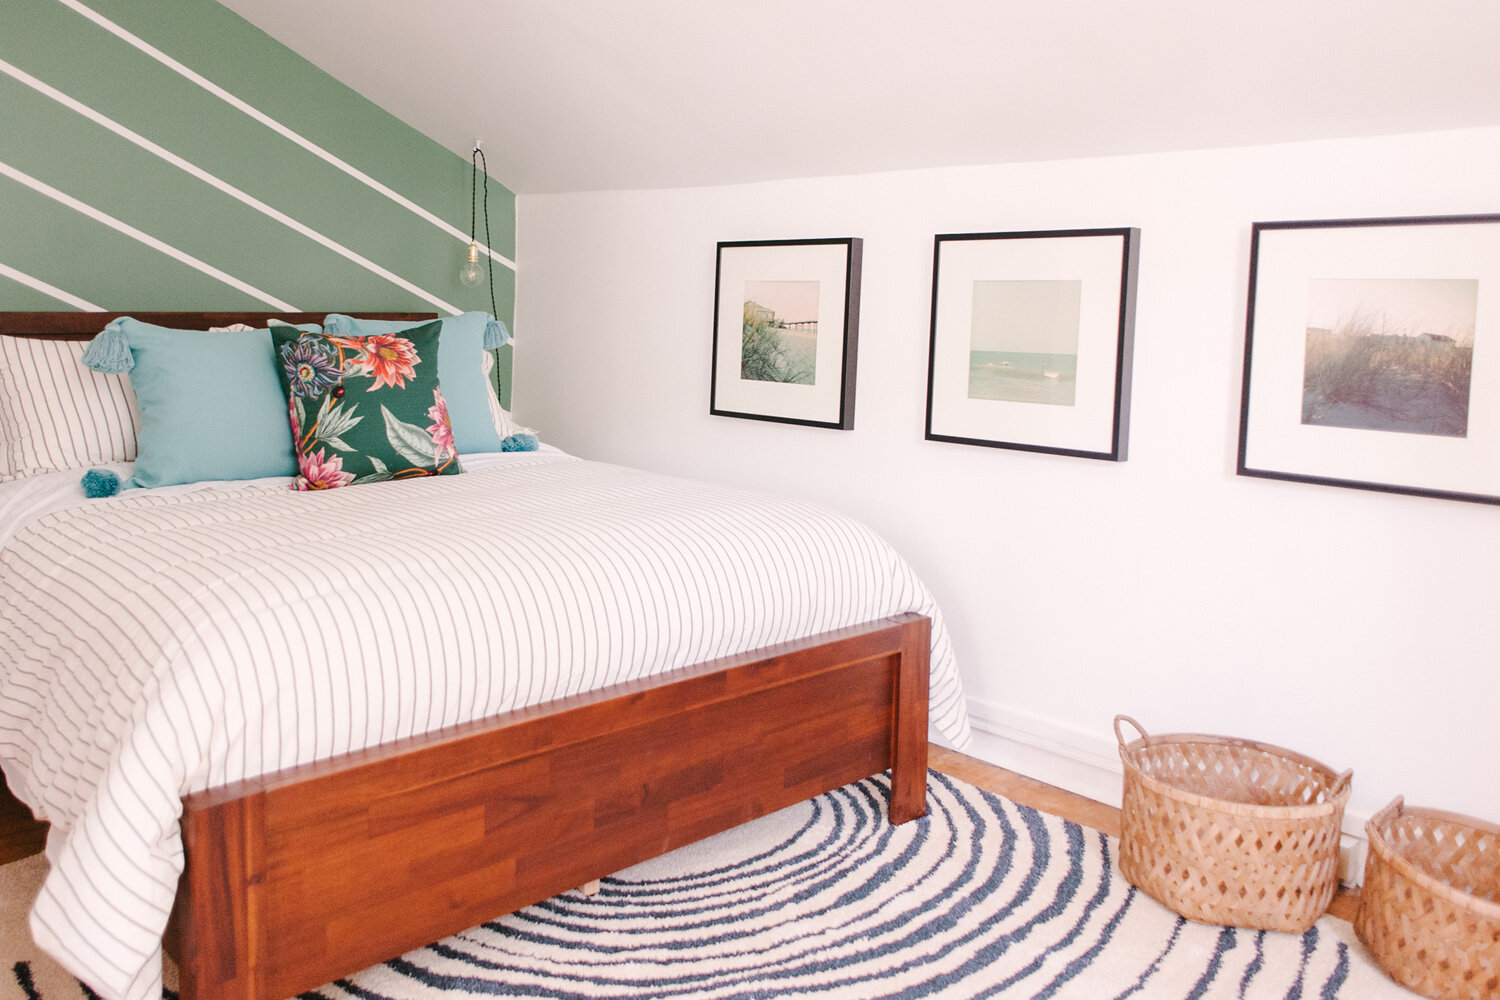

Wanna book a weekend away at The Mary Street Guesthouse? Click here.